Cleaning Paintbrushes

My paintbrushes are some of my most essential tools when painting… They are an extension of my eyes, my mind, my arm, my hand and my fingers… So choosing the right brushes, and then caring for them, is a critical part of my painting routine.
Part of the education from an institution like the Florence Academy of Art, is learning methods and routines like how to care for one’s materials. Many people have asked me how I care for my brushes, so below is a step-by-step guide showing you the method I was taught at the Florence Academy of Art. I believe it is Daniel Graves’ method (the founder of the school), still being taught to the same level of rigour and exactitude as it always has been.
Some paintbrush basics
Types of brush hairs I use: I use a combination of hog bristle and synthetic brushes.
Brands of paintbrushes I use: I mostly use Rosemary & Co. paint brushes.
Shape of brush: I use a combination of filbert style (also called cat’s tongue) and flat brushes. I rarely use round brushes, or fan brushes, but I know they offer some good options for a variety of brush strokes.

Different styles of paintbrush head (https://en.wikipedia.org/wiki/Paintbrush)
After a day of painting, my brushes are full of oil paint. I wash my brushes almost every night. When I can’t, I put them in the freezer with the paint from the day still on them. See below for more tips if you can’t wash your brushes every night.
Tip: Don’t use turpentine to clean your brushes – this damages the brush hairs. I use turpentine as a thinner when I want a more transparent, faster-drying layer of oil paint, but I avoid using turpentine otherwise.
Alternatives to daily washing of brushes
If you don’t want to wash your brushes every night, or you can’t for some reason, here are some alternative approaches:
Keep your brushes in an “oil bath” of linseed oil – there are “oil bath” holders you can buy where the brushes are propped up in a coil above a tin with a layer of linseed oil in the bottom, so that there is no weight on the brush hairs. You can clean the brushes in the oil first before putting them in the coil, and the oil paint sediment will settle on the bottom of the tin. The hairs of the brushes should be submerged in the oil.
Clean your brushes in a jar of linseed oil, and then wrap them in a plastic bag until you’re ready to use your brushes again – the plastic bag prevents oxygen from getting to your brushes and drying them out.
Put your brushes – as they are, with paint on them – in an airtight bag or container in the freezer. The freezer prevents the oil paint from drying out, and your brushes are ready to be re-used the next time you paint.
Note: This method doesn’t work very well if your brushes are very dirty by the end of a painting session, and all the same muddy colour - only use this method if you are able to keep your brushes reserved for specific colours and values.

In all these methods, I’d recommend washing your brushes about once a week with soap and water, or with vegetable oil, and then soap and water.
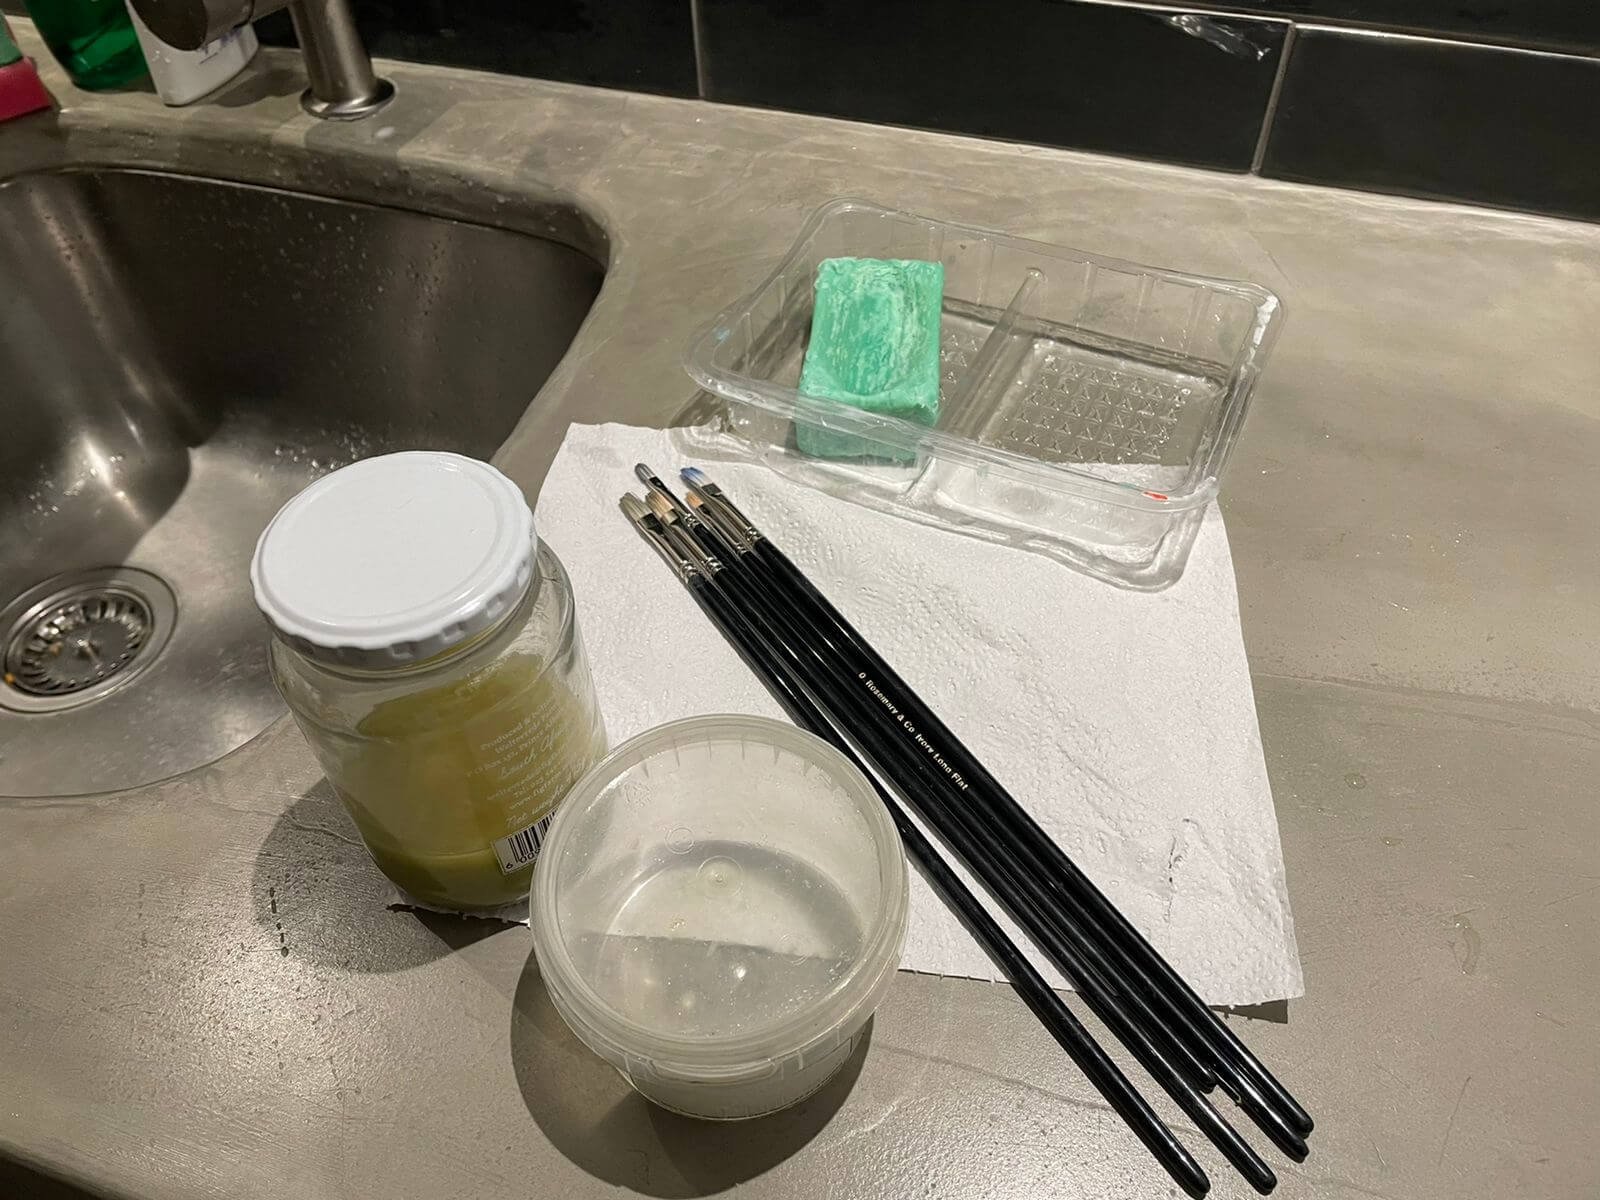
Cleaning Your Brushes - What You’ll Need
Your dirty brushes :)
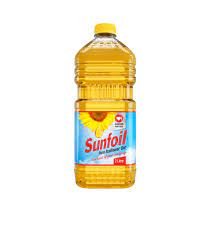
Vegetable oil (I use sunflower oil, but canola oil works too)
Two sealable, airtight jars (I use plastic or glass)
Hand / clothes soap / detergent
Paper towel
Access to a sink with running warm or cool water - preferably don’t use a sink where you prepare food
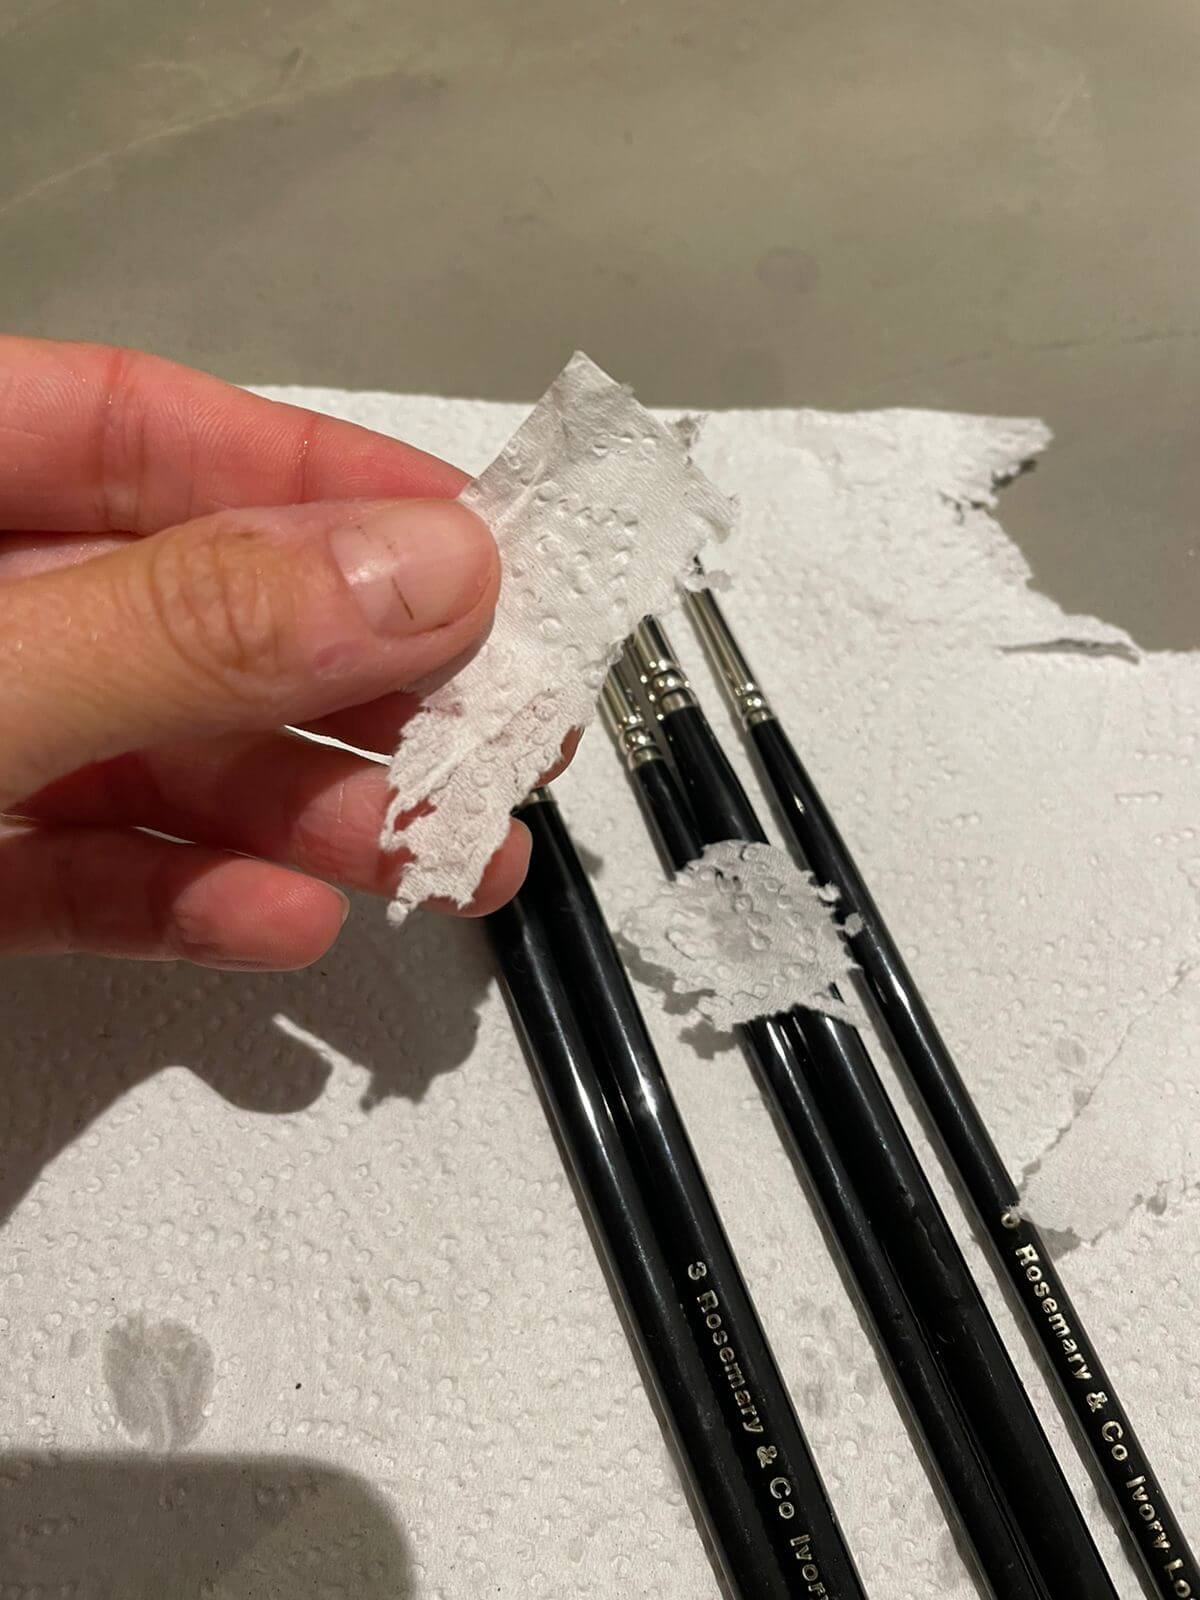
Step 1: Remove excess paint from your brushes with a paper towel
I squeeze off excess paint from my brushes using a paper towel. This helps speed the later steps in the process.
Step 2: Clean your brushes first in vegetable oil
I like this step as it removes a lot of the paint from my brushes, and makes the “soap and water” step much faster. You can use linseed oil too, but vegetable oil is cheaper and just as effective. It does mean, however, that you have to wash the brushes with soap and water after using the vegetable oil, as these oils will interfere with linseed-based oil paints.
I use canola oil or sunflower oil, readily available in supermarkets.
I use two airtight, sealable containers for my vegetable oil: one for my used oil, where the sediment can gather between brush cleans, and one that I keep empty, and fill with the used, clean oil that has separated from the sediment in my container of used oil.


When I’m ready to clean my brushes, I pour the separated vegetable oil from the jar of used vegetable oil. I clean my brushes, gently stirring the dirty brush around the bottom of the jar, removing as much of the paint as possible. I then wipe off the excess oil from the brush on a piece of paper towel, set aside, and begin on the next brush.
When I’ve washed all my brushes in this way, the jar with “new” oil is now very opaque and dirty. I pour this oil into the jar with “old” oil, and by the next evening, the sediment has mostly sunk to the bottom, and I can reuse the oil for the next evening’s brush cleaning.
Step 3: Wash your brushes with soap and warm or cool water (not hot)
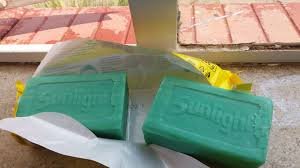
For soap, I use a regular dish soap bar (called Sunlight Soap in South Africa). When in Florence, I used an olive oil soap bar. At school, many students also used liquid clothes detergent. I use a thick bar of soap. I can brush the soap with my brush and create a lather, which I find helpful when cleaning my brushes.
After thoroughly soaping my brushes, I rinse with warm or cool water.
Tip: Don’t use hot water when rinsing your brushes. This can cause the glue that binds the bristles to the metal at the base of the paintbrush to loosen, ultimately causing your bristles to fall out.
Step 4: Dry your brushes with paper towel
I squeeze the ends of my brushes with paper towel to remove all excess water. I leave the wet paper towel to dry overnight, and re-use the paper towel for cleaning my brushes/for painting the next day.

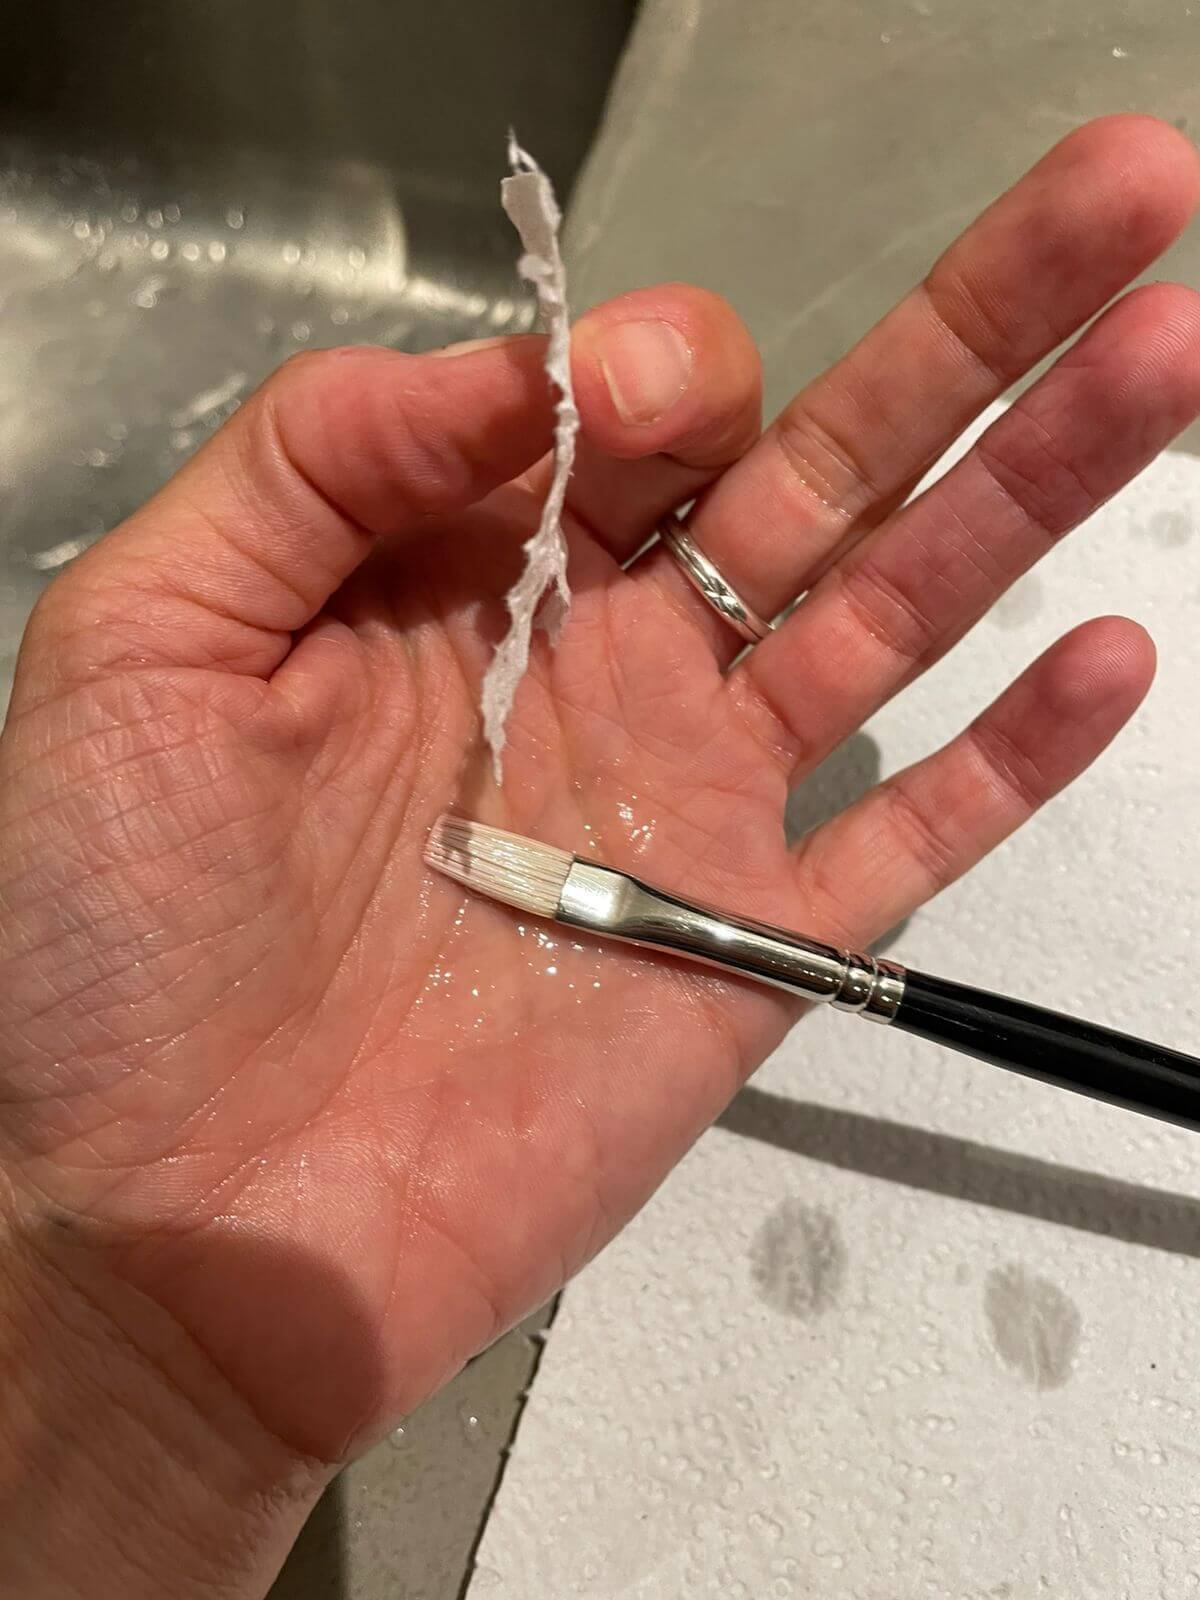
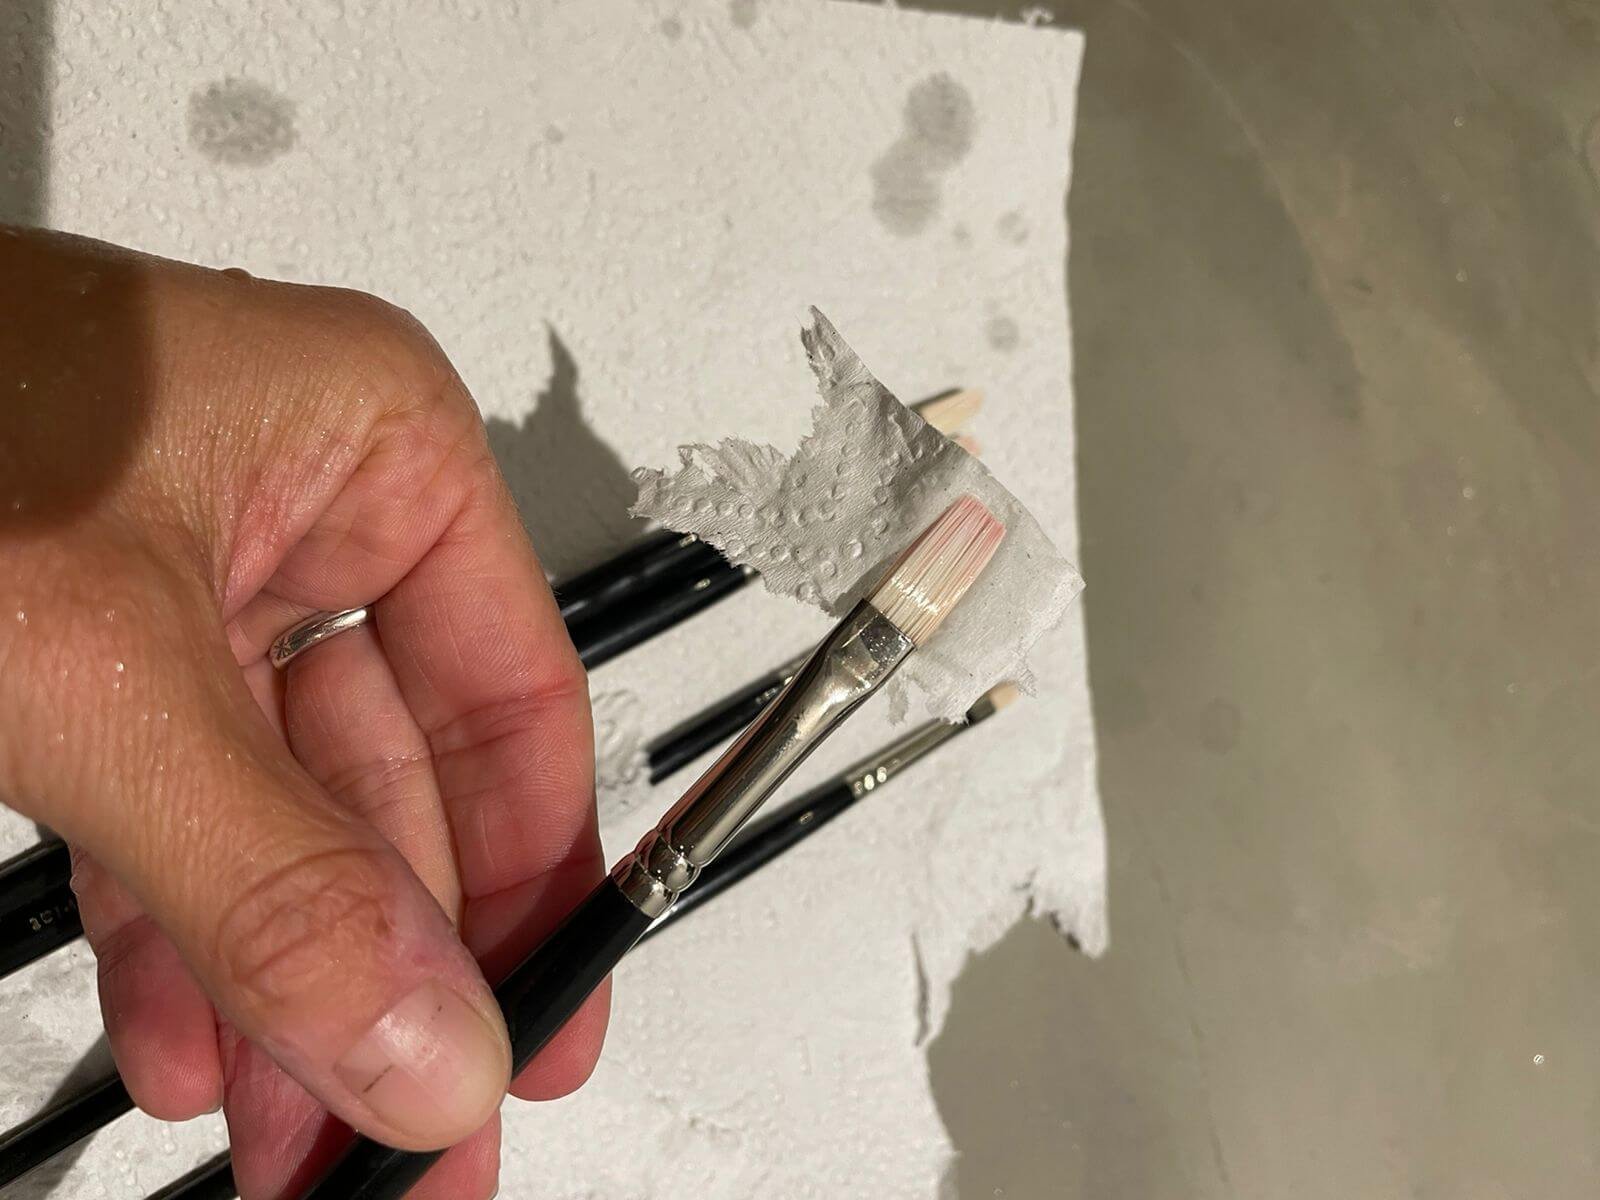
Step 5: Wrap the tips of your brushes with paper towel after shaping the brush with water or saliva
This is a technique that may be unique to those of us who studied at the Florence Academy of Art… It is Daniel Graves’ method for keeping your brush hairs conditioned and to maintain the shape. It may not be necessary to use saliva with synthetic brushes, as the hairs don’t need to be conditioned, but I do it anyway.
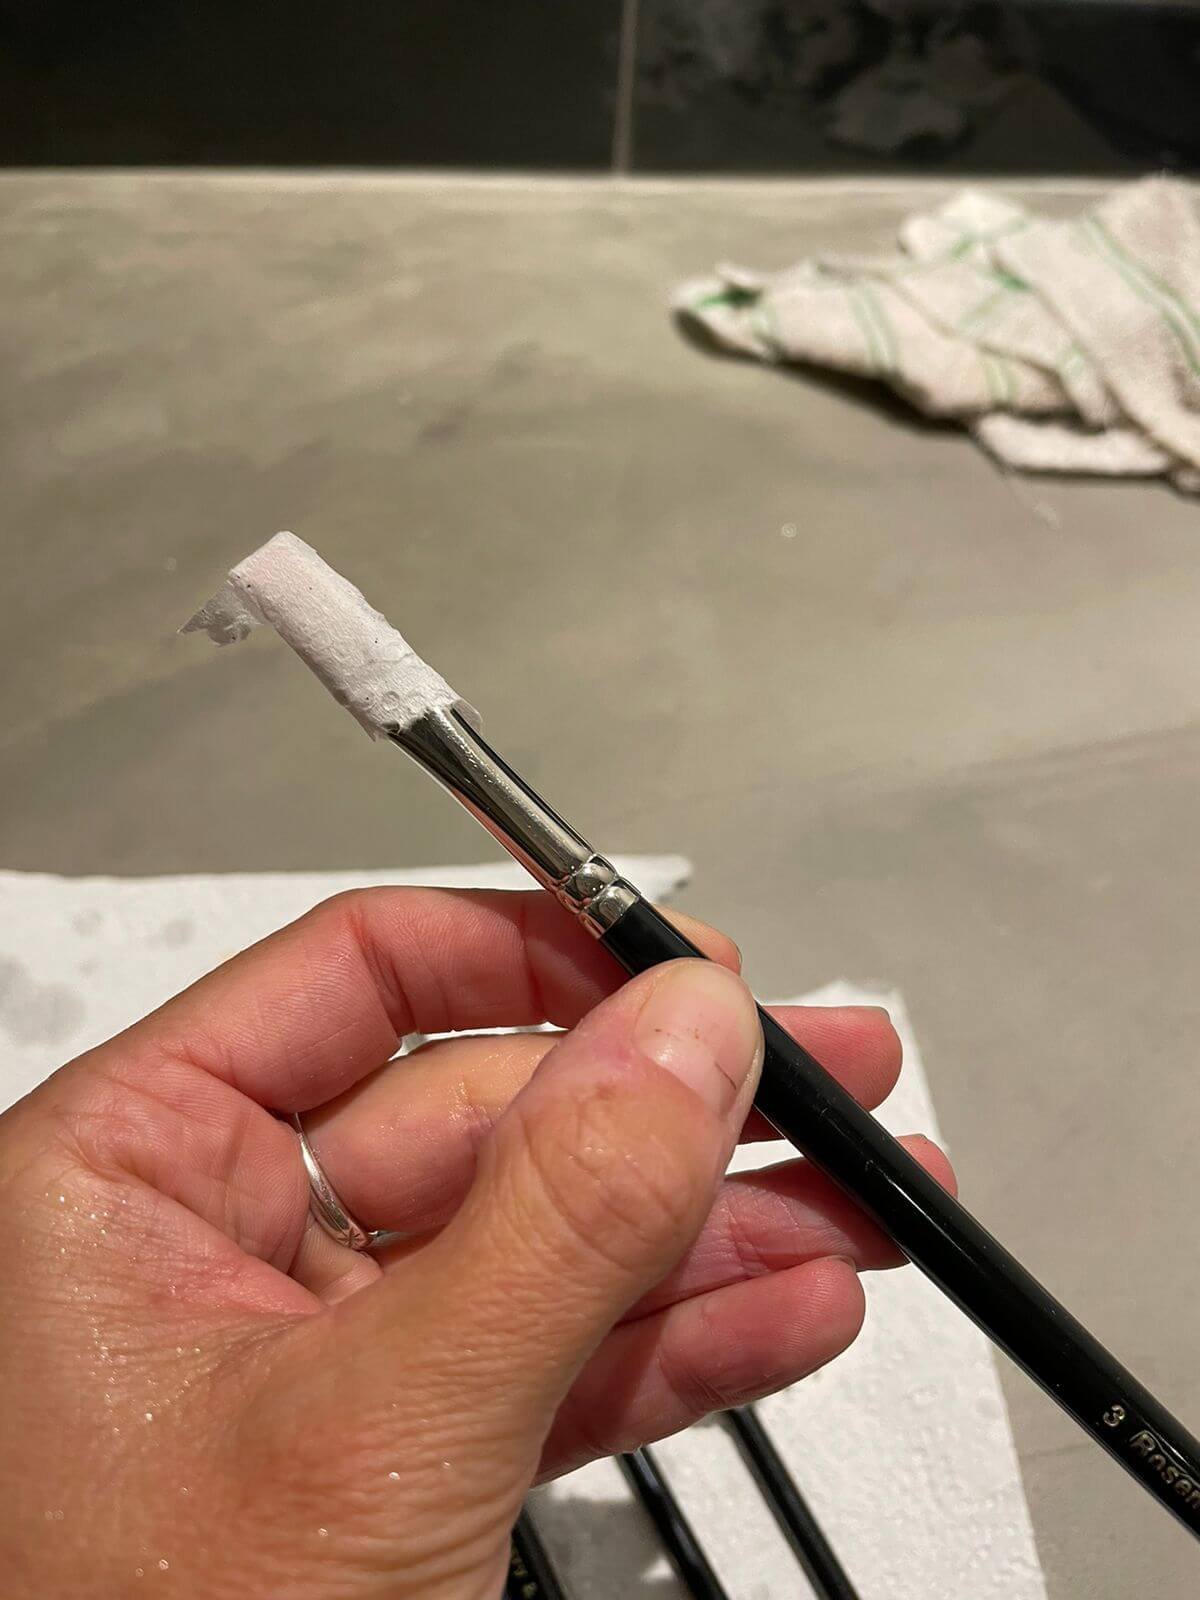
So what I do is spit into the palm of my left hand, twist both sides of the brush into the saliva, and then tear off a small piece of paper towel and fold the paper towel around the hairs in the shape of the brush.
It is like folding a parcel or present around the top of your brush.
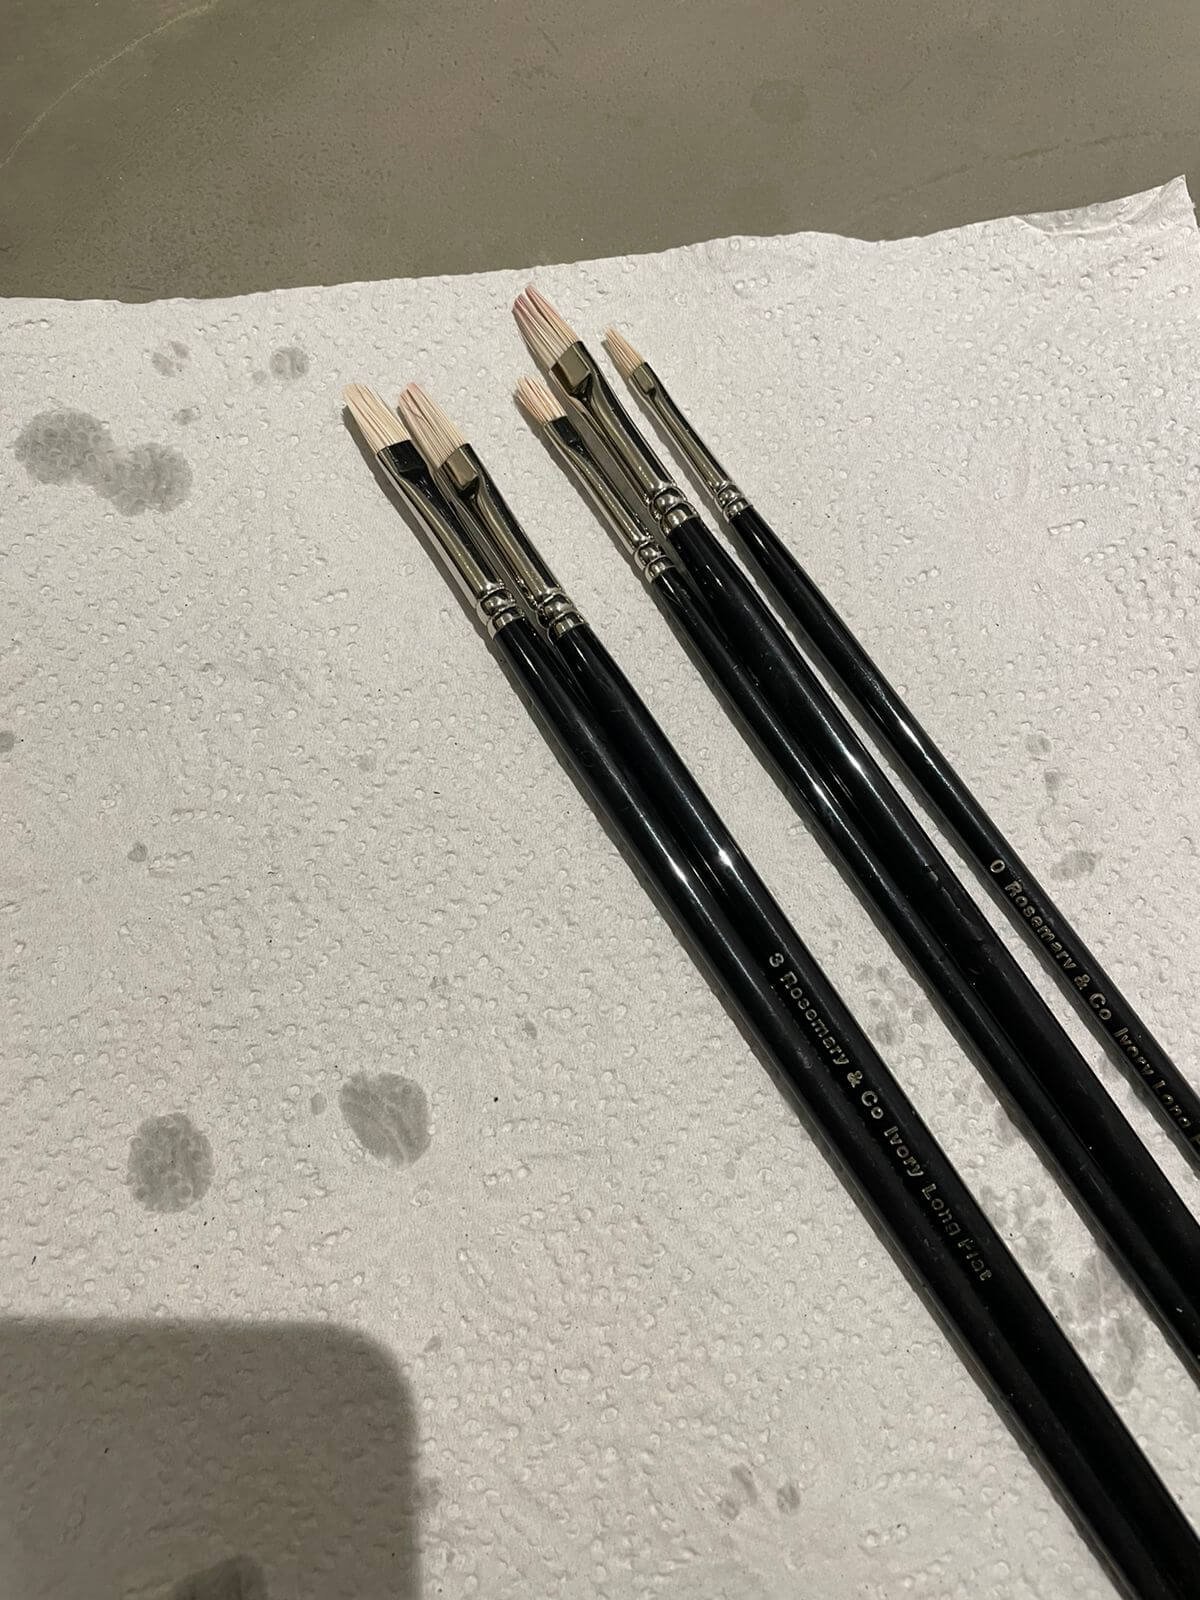
Step 6: Lay your brushes flat to dry over night
According to my teacher Marc Dalessio, leaving your brushes vertical with the brushes at the top, can result in water trickling down from the brush head to the heel of the brush, causing swelling and loosening the connection of bristles to the ferrule (metal) part of the brush, that holds the brush hairs together.

Paintbrush parts (http://teresabernardart.com/anatomy-of-the-artist-paintbrush/)
I put my brushes in my brush holder, but lay this flat on my plein air kit, so that the water dries horizontally, and so that I don’t forget my brushes when I rush out the door the next morning for my painting session :)